Unity 사전캠프 3주차 목표
1. HP 만들기
2. LV 만들기
목차
1. 기본 씬 구성하기
2. 강아지 만들기 - 밥 쏘기
3. 고양이 만들기 - 고양이와 배부른 고양이
4. 고양이 만들기 - 중력, HP바
5. 고양이 만들기 - 반복 생성
1. 기본 씬 구성하기
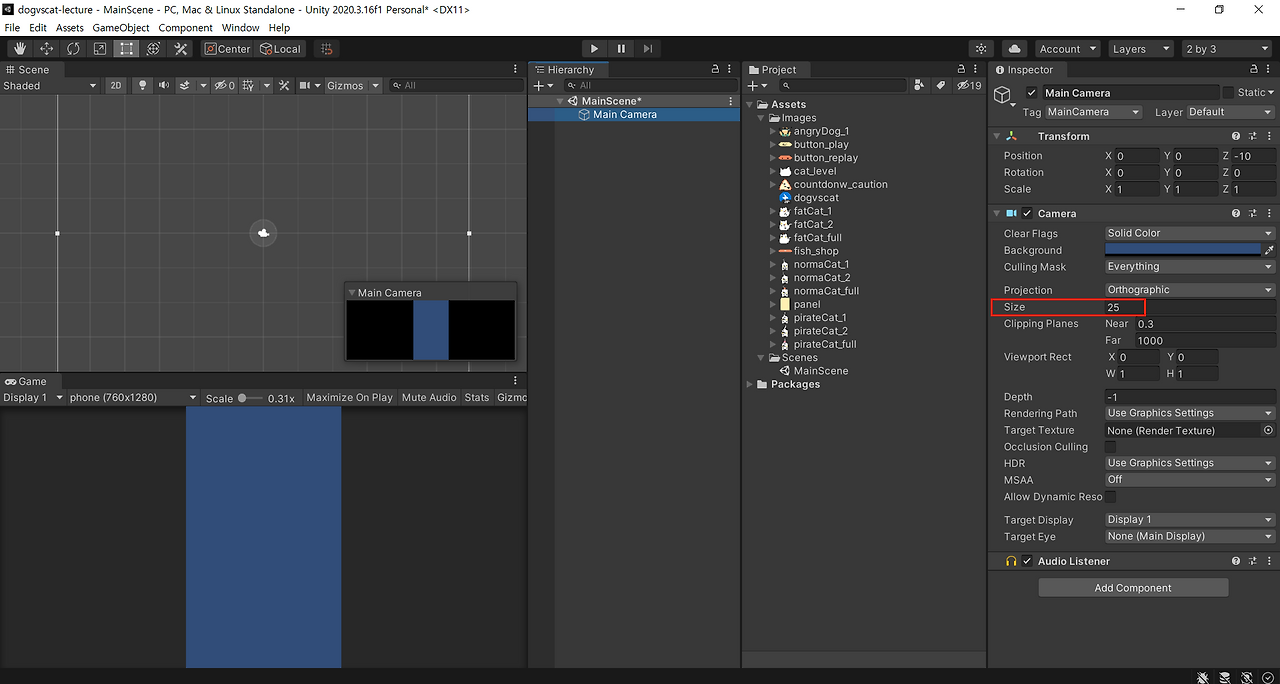
1-1 카메라 Size
이번 프로젝트에선 메인 카메라 Size를 5 → 25로 변경
1-2 시작 씬 구성
Assets → Scenes → Create → StartScene으로 변경 후 더블 클릭!
카메라 Size : 25
Hierarchy → 2D Objects → Sprite → Square → Intro 사진

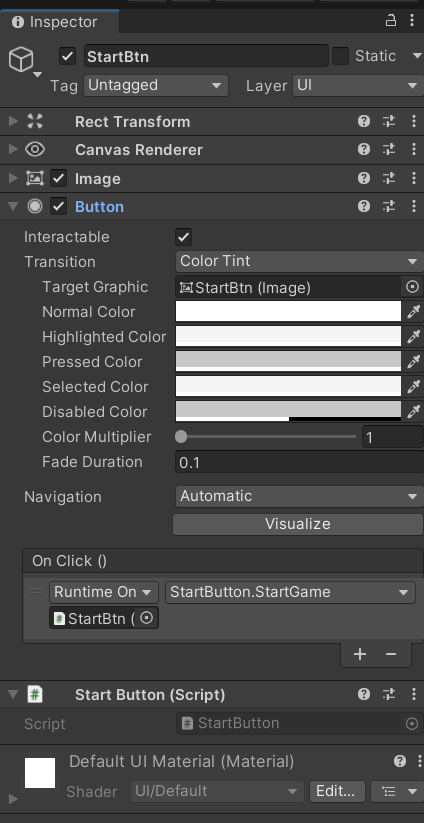
Hierarchy → UI → Legacy → Button → StartBtn → startbtn 이미지 끌어다 넣기
Pos Y = -300, Width = 300, Height = 100
+) Button → Text 지우기
1-3 씬 넘어가기
Assets → New Folder → Scripts → MonoBehaviour Script → StartBtn.cs 생성 후 StartBtn에 넣기
MainScene으로 넘어가는 코드 작성
// StartBtn.cs
using UnityEngine;
using UnityEngine.SceneManagement;

public class StartBtn : MonoBehaviour
{
    public void GameStart()
    {
        SceneManager.LoadScene("MainScene");
    }
}
코드 작성이 끝났으면
On Click Component에 StartBtn 값 넣어주기
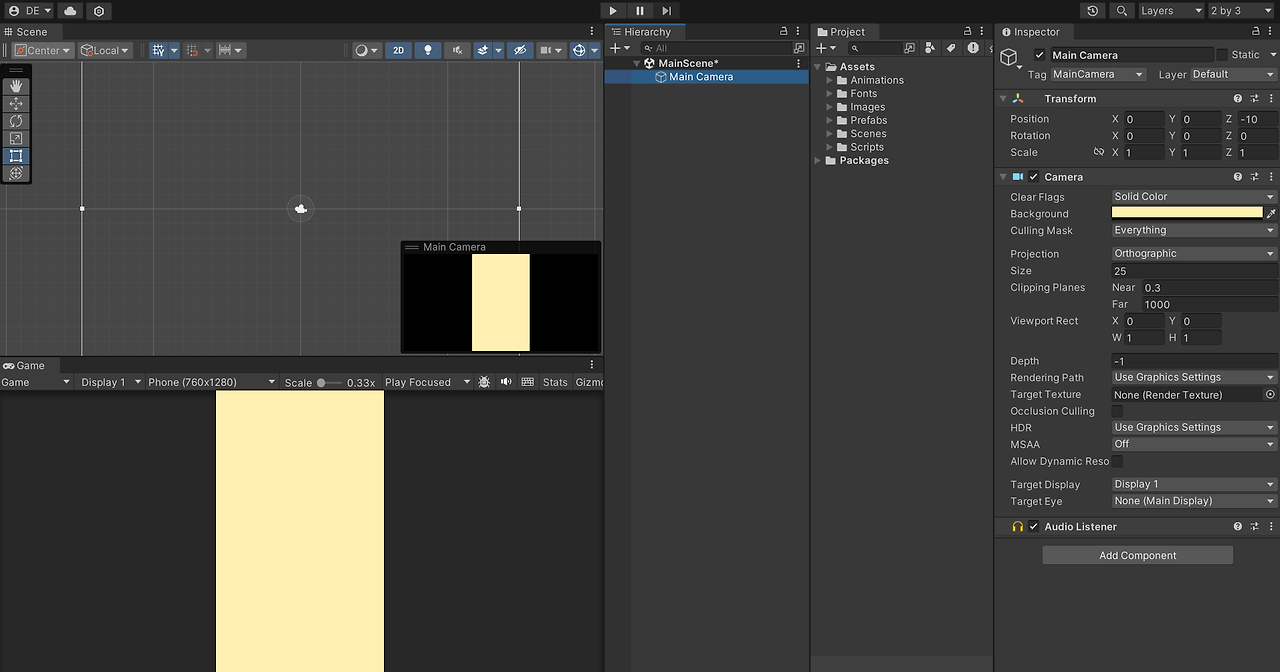
1-4 씬 색 변경
R G B : 255, 240, 178, Hex : FFF0B2
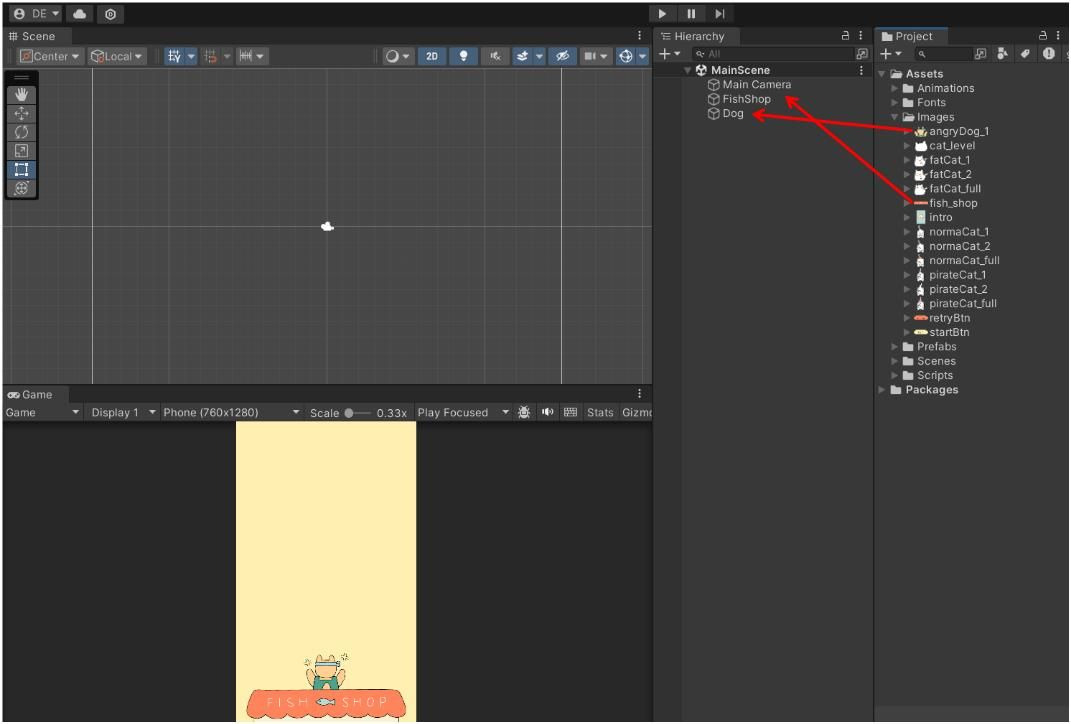
1-5 씬 오브젝트 추가
Hierarchy → Create → 2D Objects → Sprite → Square → 이미지들 각각의 오브젝트에 넣기
Fish_Shop Transform Y = -22
Angry_Dog Transform Y = -16.1
2. 강아지 만들기 - 밥 쏘기
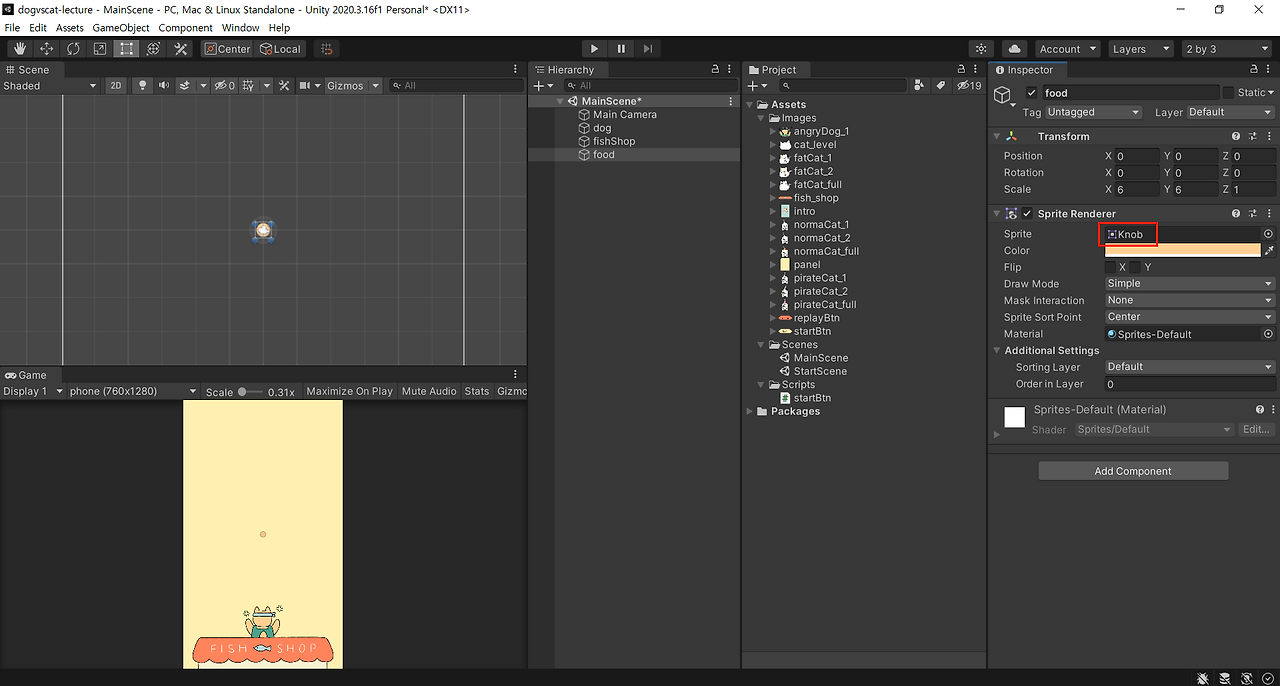
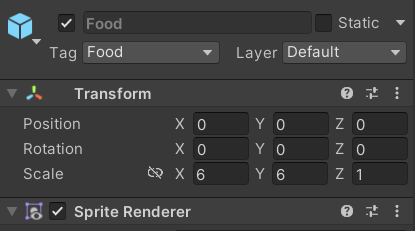
2-1 밥 만들기
Hierarchy → Create → 2D Object → Sprite → Circle → Food 이름 변경
Scale X = 6, Y = 6, Sprite : Knob, (R G B A : 255, 208, 146, 255 or Hex : FFD092)
2-2 밥 반복 생성
Assets → Scripts → Food.cs 생성
위로 올라가는 코드 작성
using UnityEngine;

public class Food : MonoBehaviour
{
    void Update()
    {
        transform.position += Vector3.up * 0.5f;
    }
}
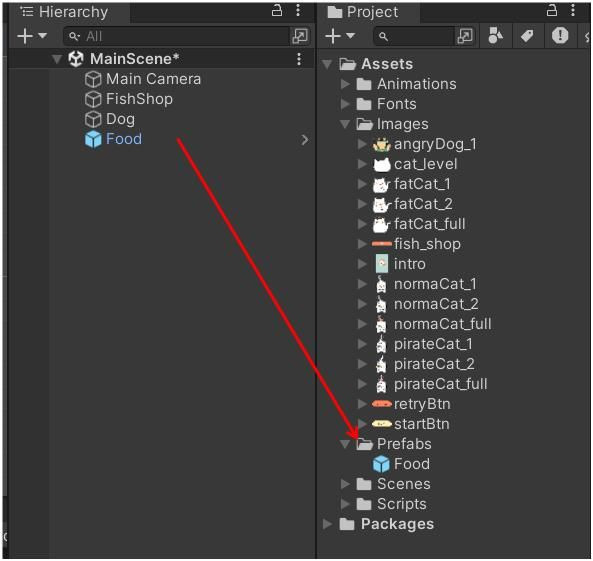
Food Objects를 PreFabs 폴더 생성 후 넣기!
2-3 강아지 제어
Assets → Scripts → Dog.cs 생성 후 코드 작성
public class Dog : MonoBehaviour
{
    public GameObject food;

    void Start()
    {
        InvokeRepeating("MakeFood", 0.0f, 0.5f); // 0.5초마다 MakeFood() 반복
    }

    void MakeFood()
    {
        float x = transform.position.x;
        float y = transform.position.y;
        Instantiate(food, new Vector2(x, y), Quaternion.identity); // Quaternion.identity : 회전이 없다
    }
}
강아지 움직임 제어
지난 시간에 했던 마우스 좌표를 가져오는 코드 작성
//Dog.cs
void Update()
{
    Vector2 mousePos = Camera.main.ScreenToWorldPoint(Input.mousePosition);
    transform.position = new Vector2(mousePos.x, transform.position.y);
}
강아지가 움직이는 범위가 Fish_shop을 벗어나지 않게 조건 추가
//Dog.cs
void Update()
{
    Vector3 mousePos = Camera.main.ScreenToWorldPoint(Input.mousePosition);
    float x = mousePos.x;
    if (x > 8.5f)
    {
        x = 8.5f;
    }
    if (x < -8.5f)
    {
        x = -8.5f;
    }
    transform.position = new Vector2(x, transform.position.y);
}
2-4 Food 삭제
화면 밖으로 나간 더미 데이터들 삭제
// Food.cs
using UnityEngine;

public class Food : MonoBehaviour
{
    void Update()
    {
        transform.position += Vector3.up * 0.5f;
        if(transform.position.y > 27.0f)
        {
            Destroy(gameObject);
        }
    }
}
3. 고양이 만들기 - 고양이와 배부른 고양이
3-1 고양이 설정
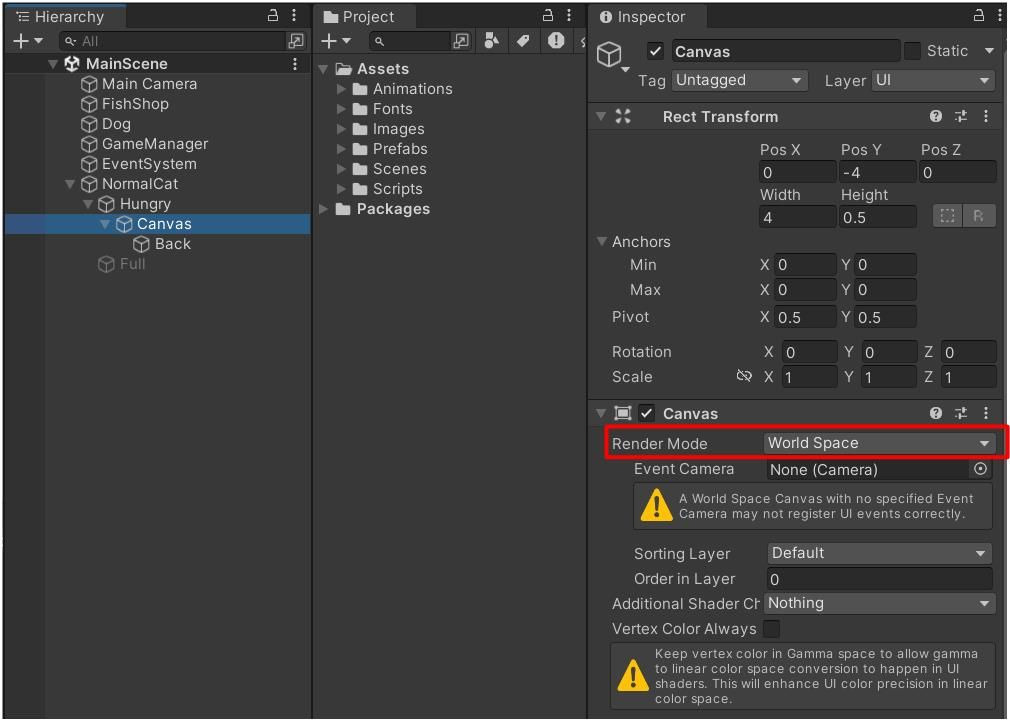
Hierarchy → Create Empty → Normal_Cat → Normal_cat 안에 Square 2개 생성, 이름은 Hungry, Full
Hungry 안에 UI → Image → Back으로 이름 변경, Canvas의 RenderMode를 World Space로 변경
Width = 4, Height = 0.5, Pos Y = -4
3-2 속성값
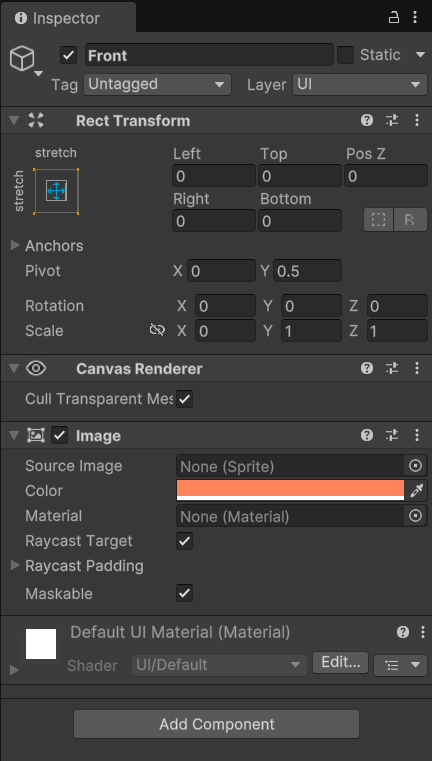
Back을 Ctrl + D로 복사하여, Front로 이름 변경
R G B A : 255, 132, 92, 255, Hex : FF845C
Pivot X값을 0으로 변경하고,
Scale 값을 변경하면 HP바를 만들 수 있다.
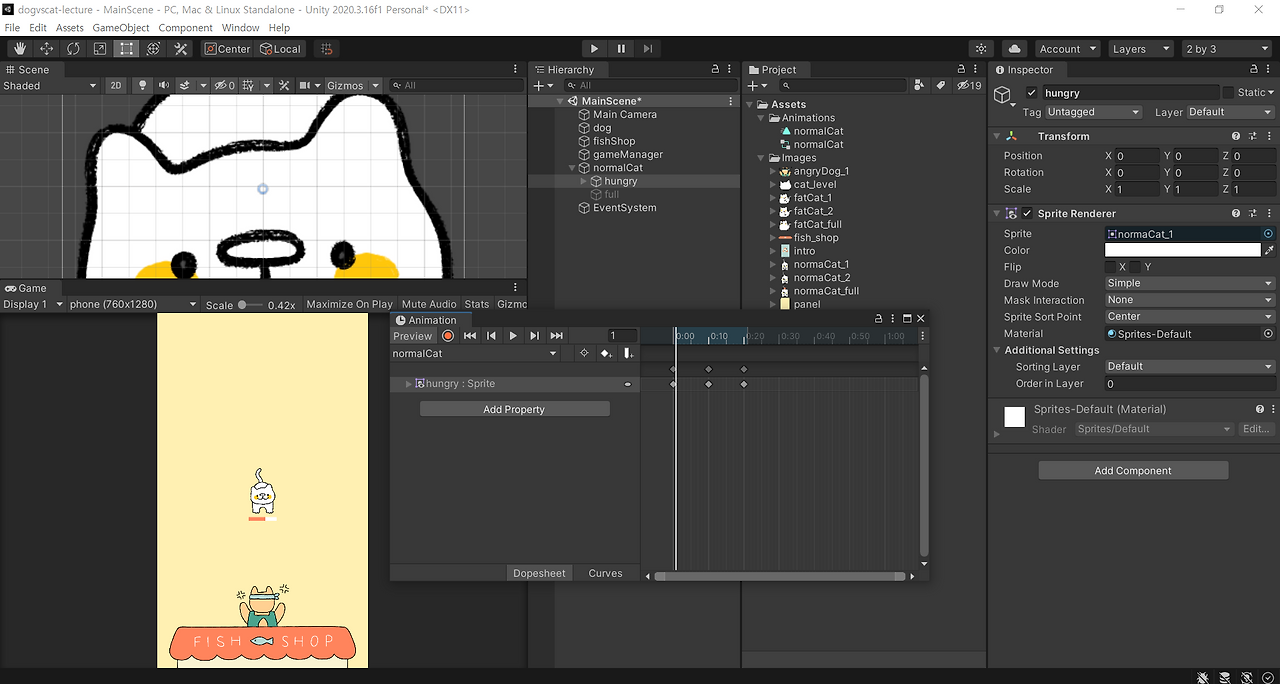
3-3 애니메이션 설정
Assets → New Folder → Animations → Normal (Animation Clip) 생성
※ Loop Time 체크 확인!
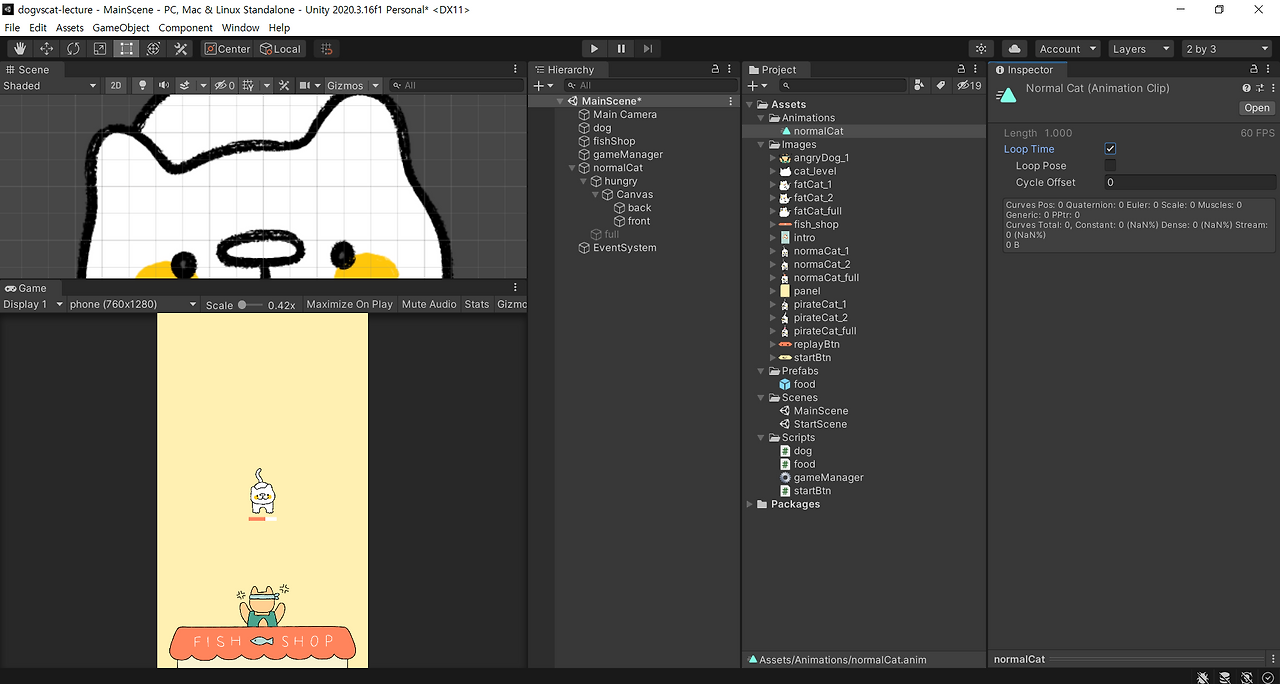
Hierarchy → Normal_Cat에 Normal (Animation Clip) 을 넣고 더블 클릭하여 녹화 시작!
0:10 : normalCat_1, 0:20 : normalCat_2
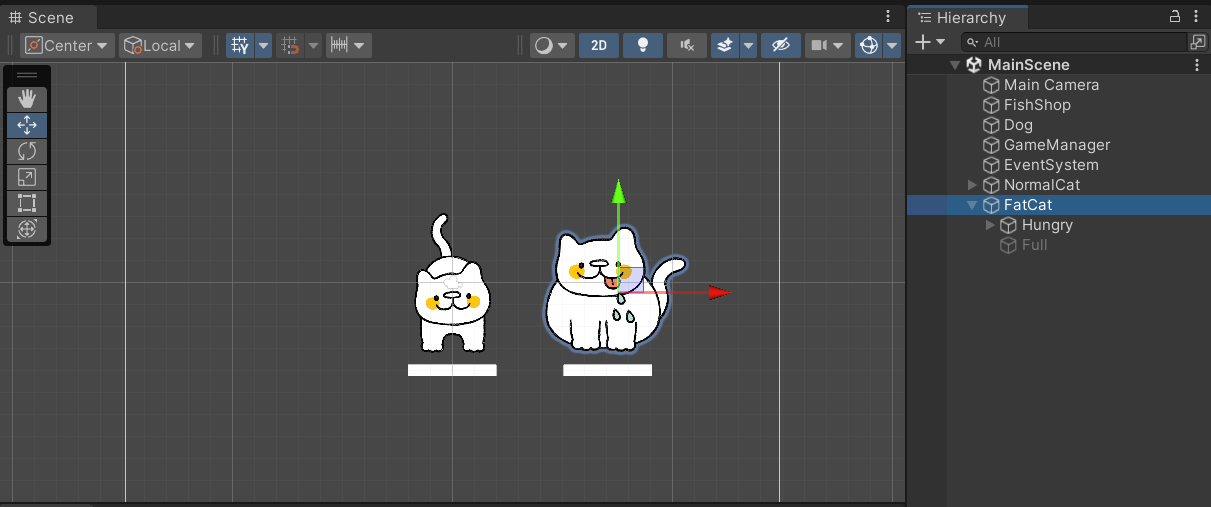
3-4 Fat_Cat 생성
Hierarchy → Normal_Cat을 Ctrl+D를 눌려 복사하고, Hungry와 Full에 들어간 이미지를 변경!
잠시 설정을 위해 Canvas → Pos X = -0.5
그리고 Normal(Animation Clip)을 지우고 새로운 Fat(Animation Clip) 생성
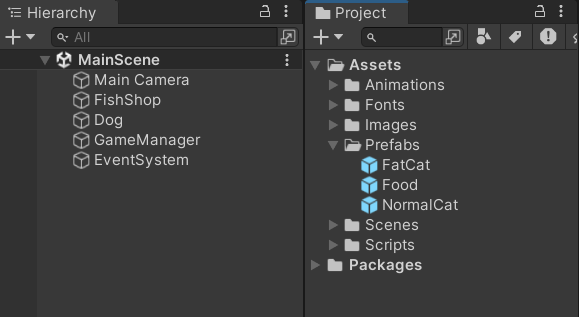
3-5 Prefab
만든 두 고양이 오브젝트를 Assets → New Folder → Prefabs 생성 후 넣어주기! → Hierarchy에 있는 두 오브젝트 삭제!
4. 고양이 만들기 - 중력, HP바
4-1 중력
Assets → Scripts → Cat.cs 생성
X = -9 ~ 9의 랜덤 범위 Y = 30
//Cat.cs
float speed = 0.05f;

void Start()
{
    float x = Random.Range(-9.0f, 9.0f);
    float y = 30.0f;
    transform.position = new Vector2(x, y);
}

// Update is called once per frame
void Update()
{
    transform.position += Vector3.down * speed; // Speed = 0.05f를 사용해 내려오는 속도 제어
}
+) 프레임 고정
GameManager를 생성 안했으니 잠시 Cat.cs에 넣어두고, GameManager를 만들고 난 이후 옮겨주기!
//Cat.cs
void Start()
{
    Application.targetFrameRate = 60;
    float x = Random.Range(-9.0f, 9.0f);
    float y = 30.0f;
    transform.position = new Vector2(x, y);
}
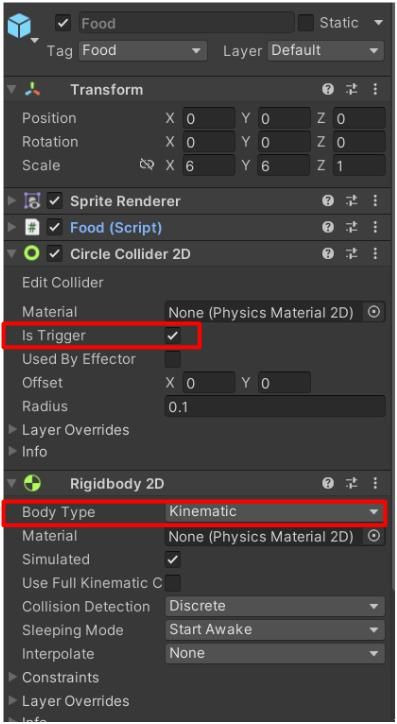
4-2 충돌 - Food
Food에 Food 태그 주기
Food → Add Component → RigidBody 2D, Circle Collider 2D 추가
Body Type : Kinematic (중력의 영향을 안받는다), isTrigger 체크 (중력이 없을 때, 옵션을 키지 않으면 충돌 감지가 안됨)
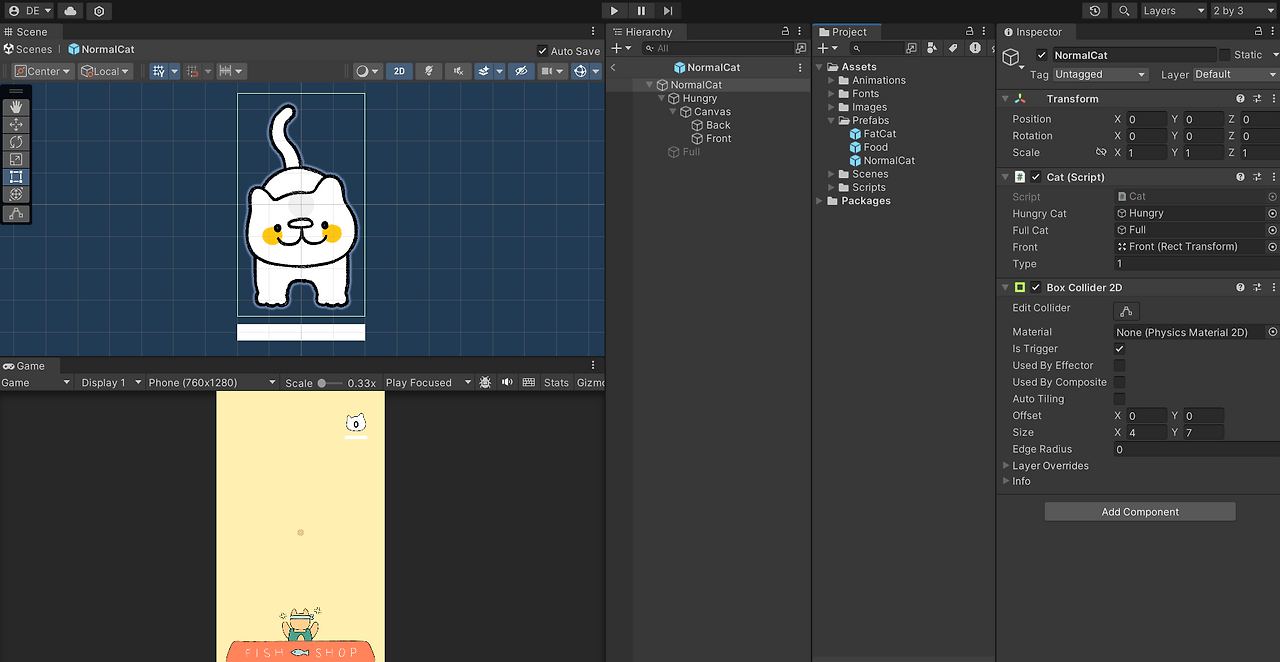
4-3 충돌 - Cats
Assets → Prefabs → Normal_Cat → Add Component → Box Collider 2D, Size X = 4, Y = 7
충돌 구현
//Cat.cs
private void OnTriggerEnter2D(Collider2D collision)
{
    if (collision.gameObject.CompareTag("Food"))
    {

    }
}
- 기본 값 설정
//Cat.cs
float full = 5.0f;
float energy = 0.0f;
-충돌 시 조건 생성
//Cat.cs
private void OnTriggerEnter2D(Collider2D collision)
{
    if (collision.gameObject.CompareTag("Food"))
    {
        energy += 1.0f;
        Destroy(collision.gameObject);
    }
}
- 게이지 채우기, 다 찼으면 Full_Cat으로 변경
//Cat.cs
public RectTransform front; // front 값 제어를 위해 받아오기

private void OnTriggerEnter2D(Collider2D collision)
{
    if (collision.gameObject.CompareTag("Food"))
    {
        if (energy < full)
        {
            energy += 1.0f;
            front.localScale = new Vector3(energy / full, 1.0f, 1.0f);
            Destroy(collision.gameObject);
        }
        else
        {
            hungryCat.SetActive(false);
            fullCat.SetActive(true);
        }
    }
}
- 게이지가 다 찬 Full_cat들을 Pos X 에 따라 옆으로 치우기
//Cat.cs
void Update()
{
    if (energy < full)
    {
        transform.position += Vector3.down * speed;
    }
    else
    {
        if (transform.position.x > 0)
        {
            transform.position += Vector3.right * 0.05f;
        }
        else
        {
            transform.position += Vector3.left * 0.05f;
        }
    }
}
그리고 3초 후에 Full_Cat 제거
//Cat.cs
void Update()
{
    if (energy < full)
    {
        transform.position += Vector3.down * speed;
    }
    else
    {
        if (transform.position.x > 0)
        {
            transform.position += Vector3.right * 0.05f;
        }
        else
        {
            transform.position += Vector3.left * 0.05f;
        }
        Destroy(gameObject, 3.0f);
    }
}
이어서
5. 고양이 만들기 - 반복 생성
6. 레벨 - 레벨업 표시
7. 레벨 - 레벨 반영
8. 과제
9. 최종 시현 영상
10. 마무리 및 느낀점
은 다음 시간에 계속 작성하겠습니다 :)
'게임 개발이 처음이어도 쉽게 배우는 모바일 게임 개발 > Sparta_Unity' 카테고리의 다른 글
| 카드 뒤집기 - 1 (0) | 2025.01.15 |
|---|---|
| 고양이 밥주기 - 2 (0) | 2025.01.09 |
| 풍선을 지켜라 - 2 (0) | 2025.01.06 |
| 풍선을 지켜라 - 1 (1) | 2025.01.06 |
| 빗물 받는 르탄이 - 2 (0) | 2025.01.04 |